Photo Gallery
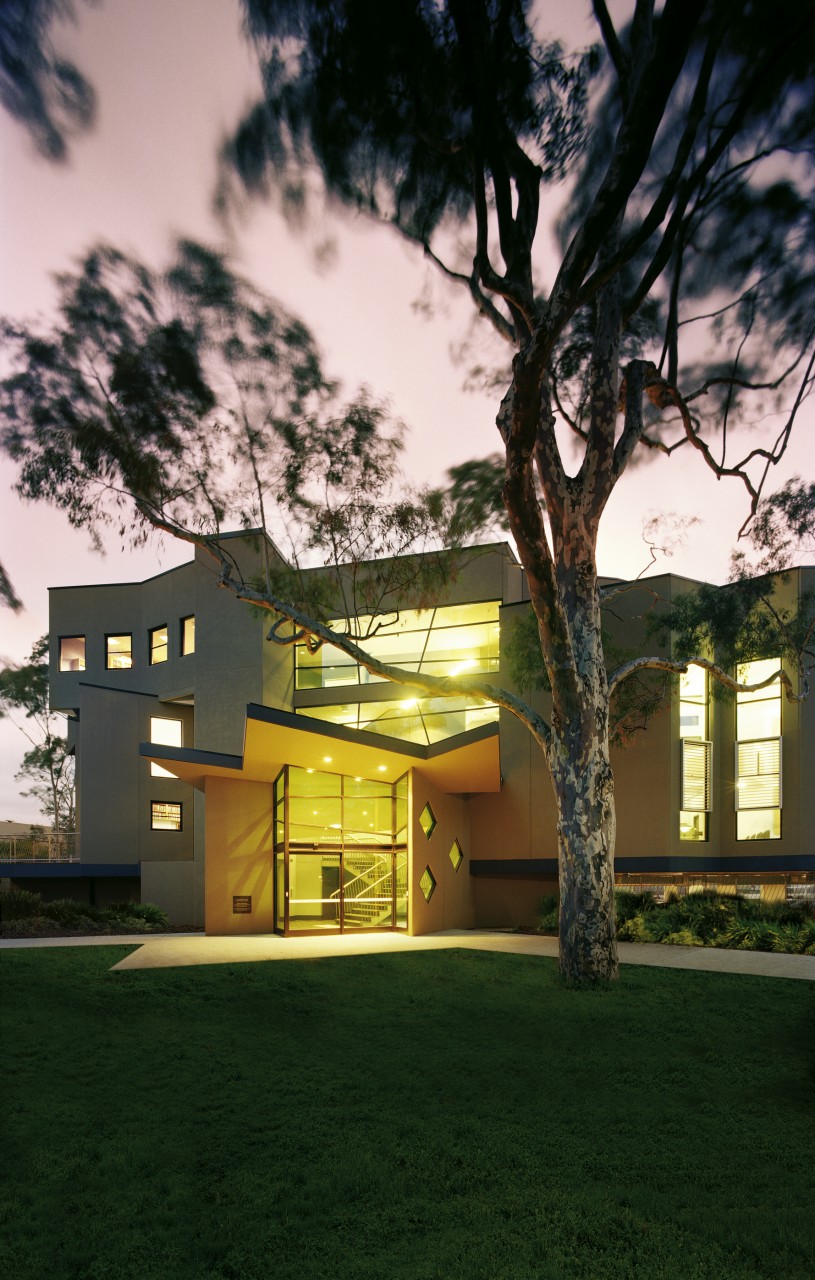
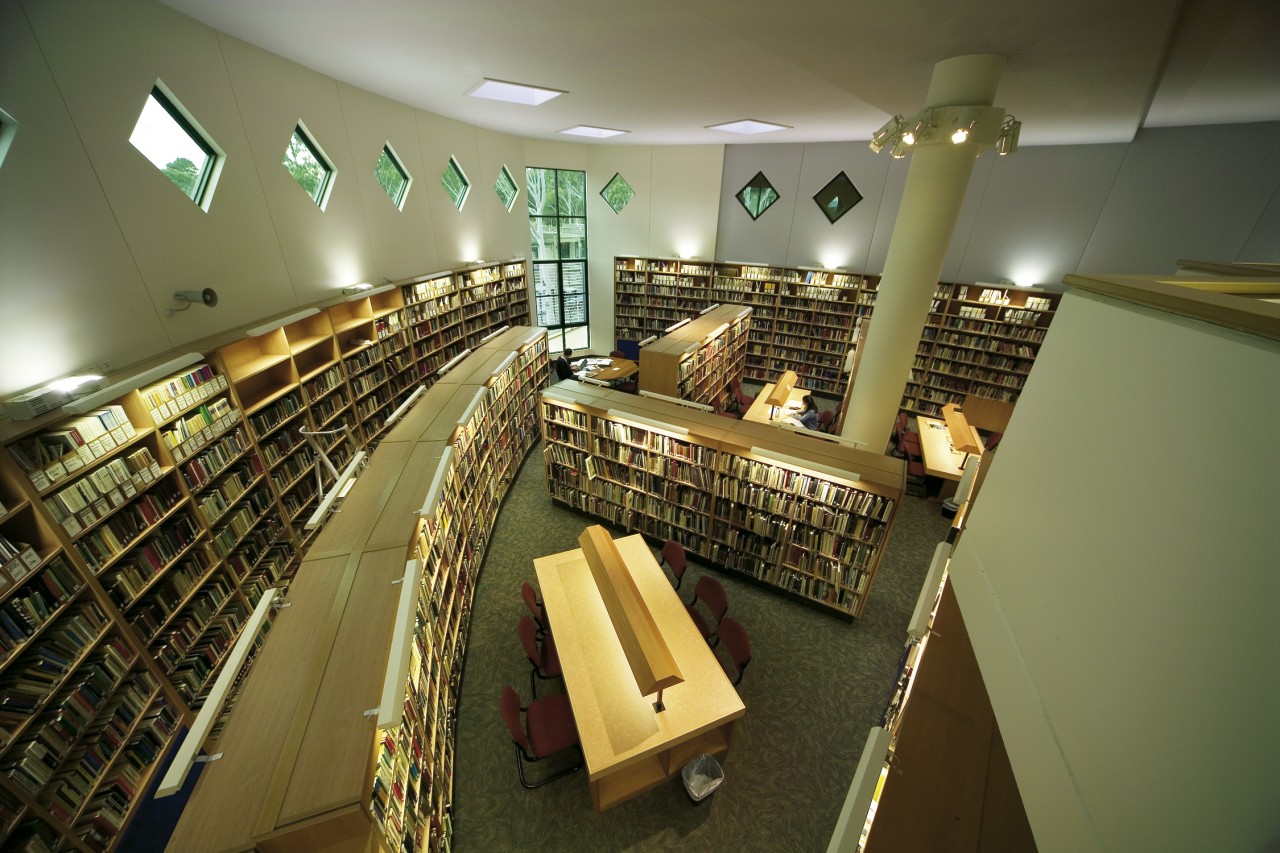
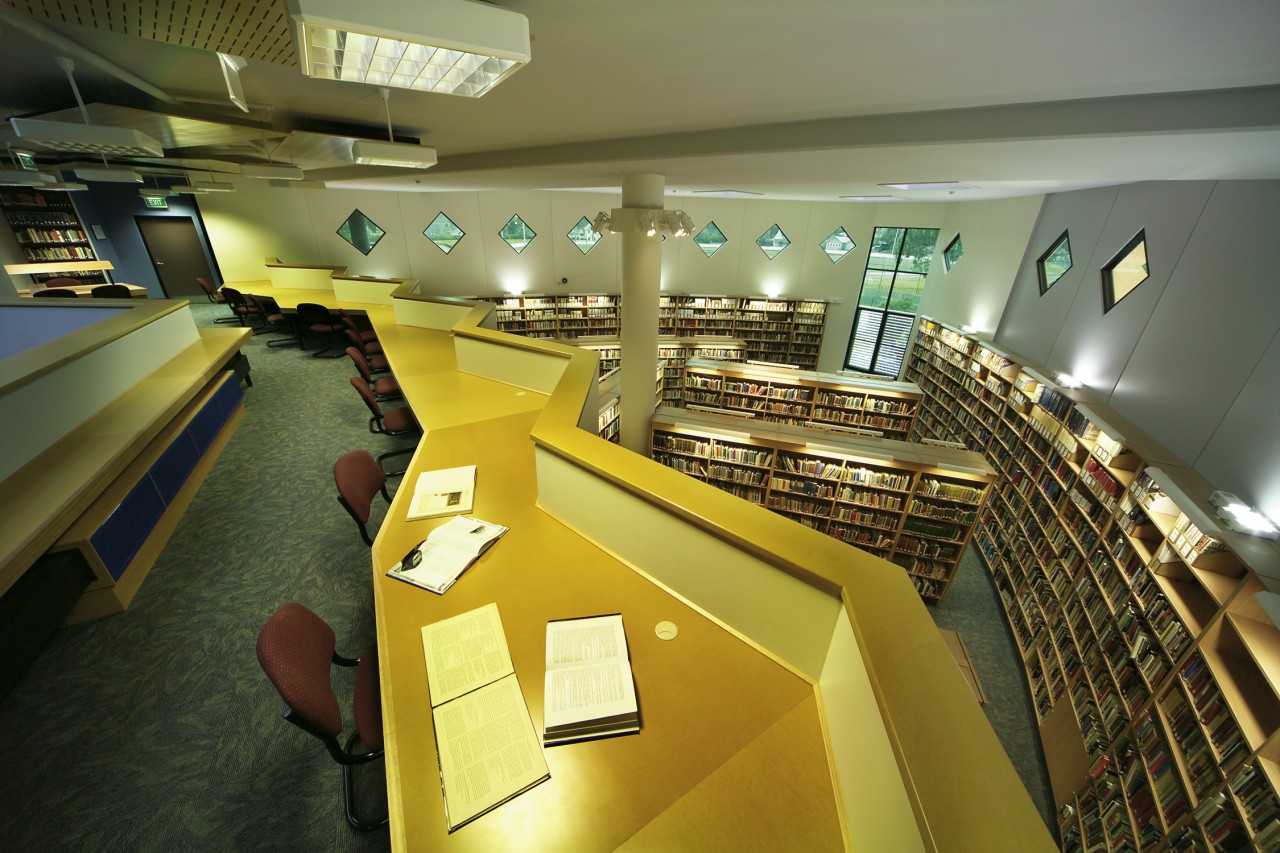
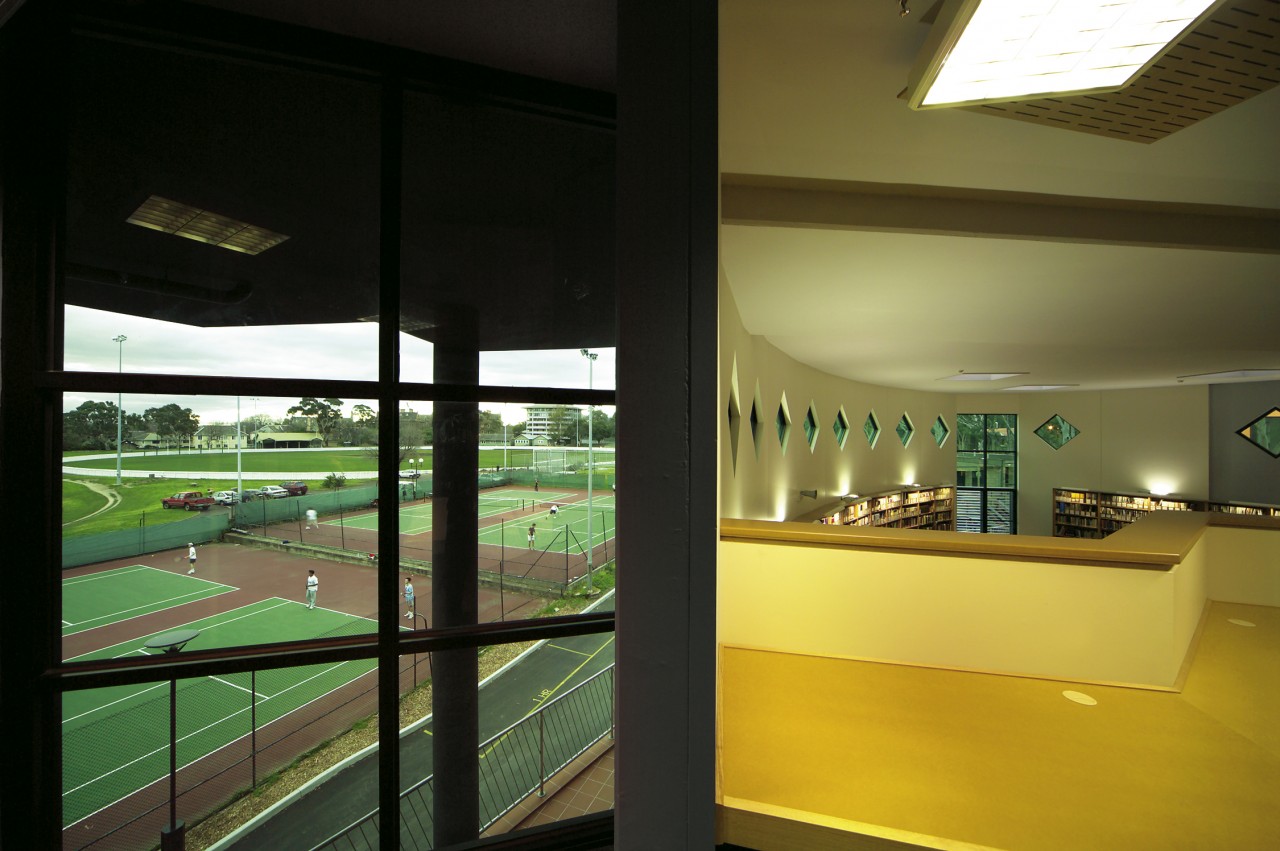
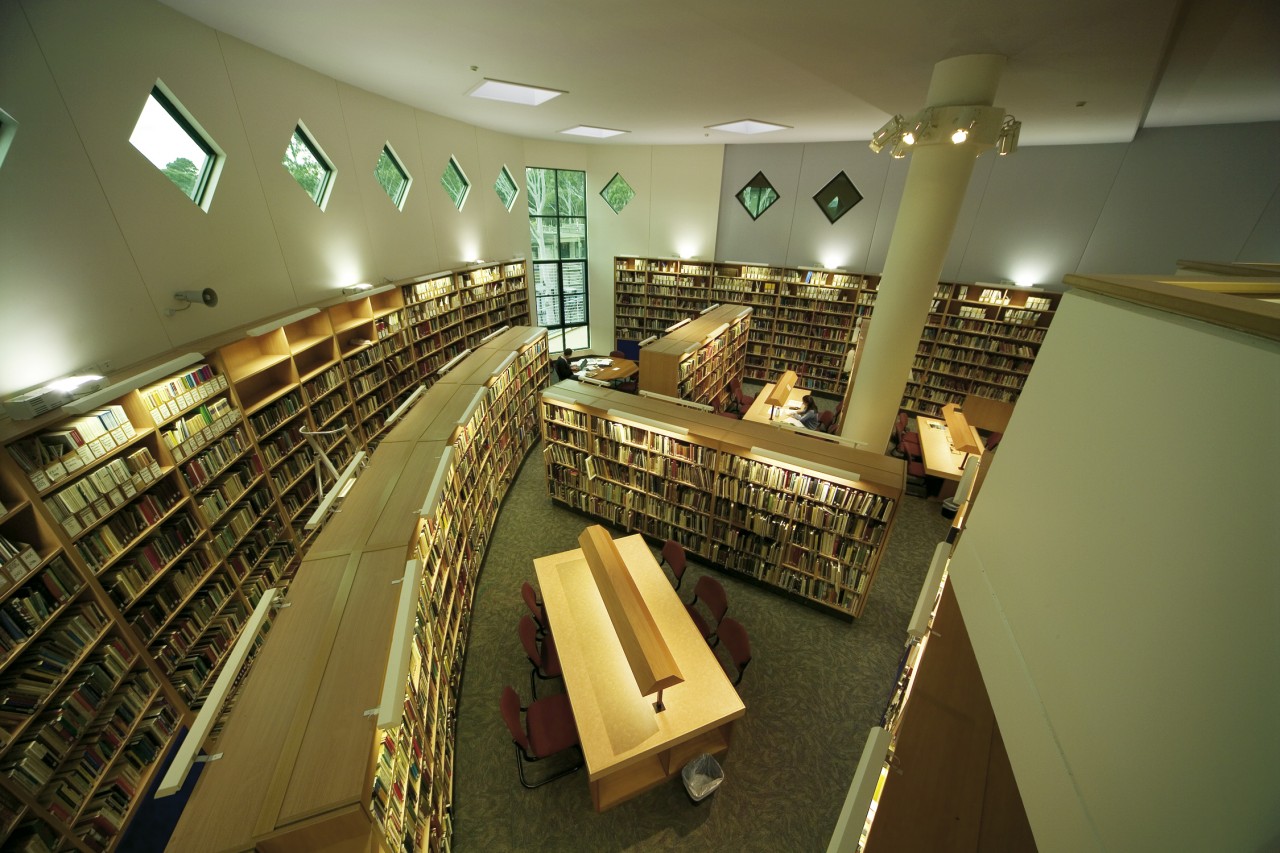
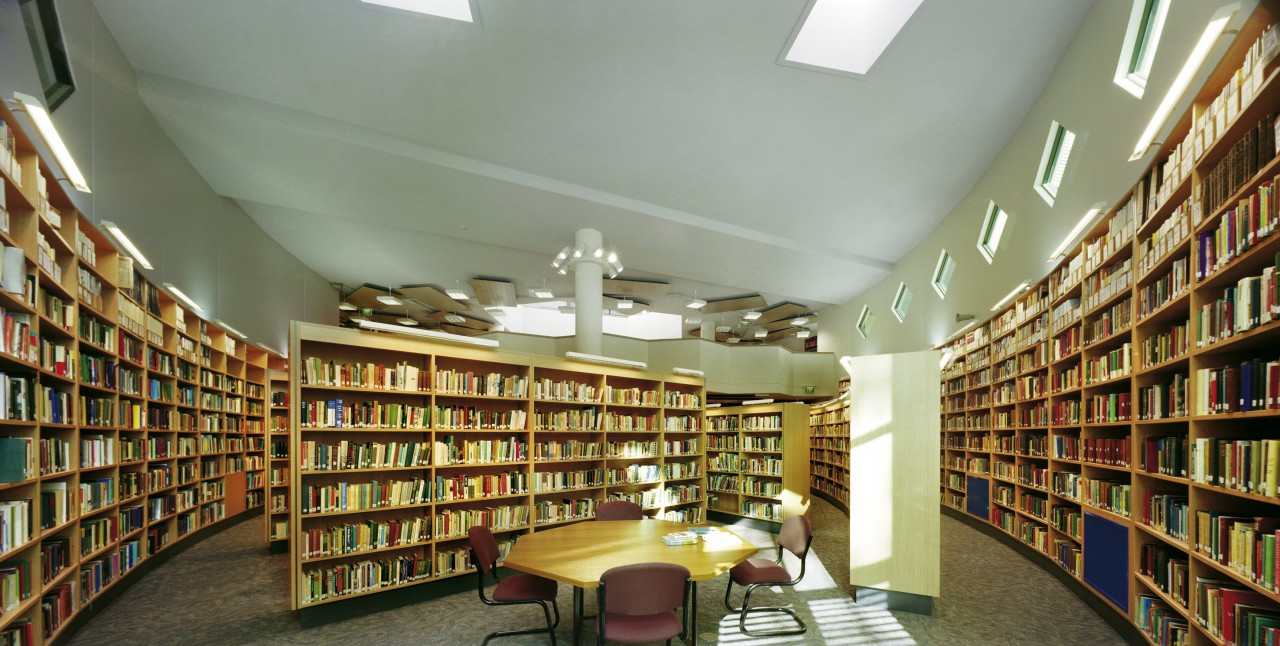
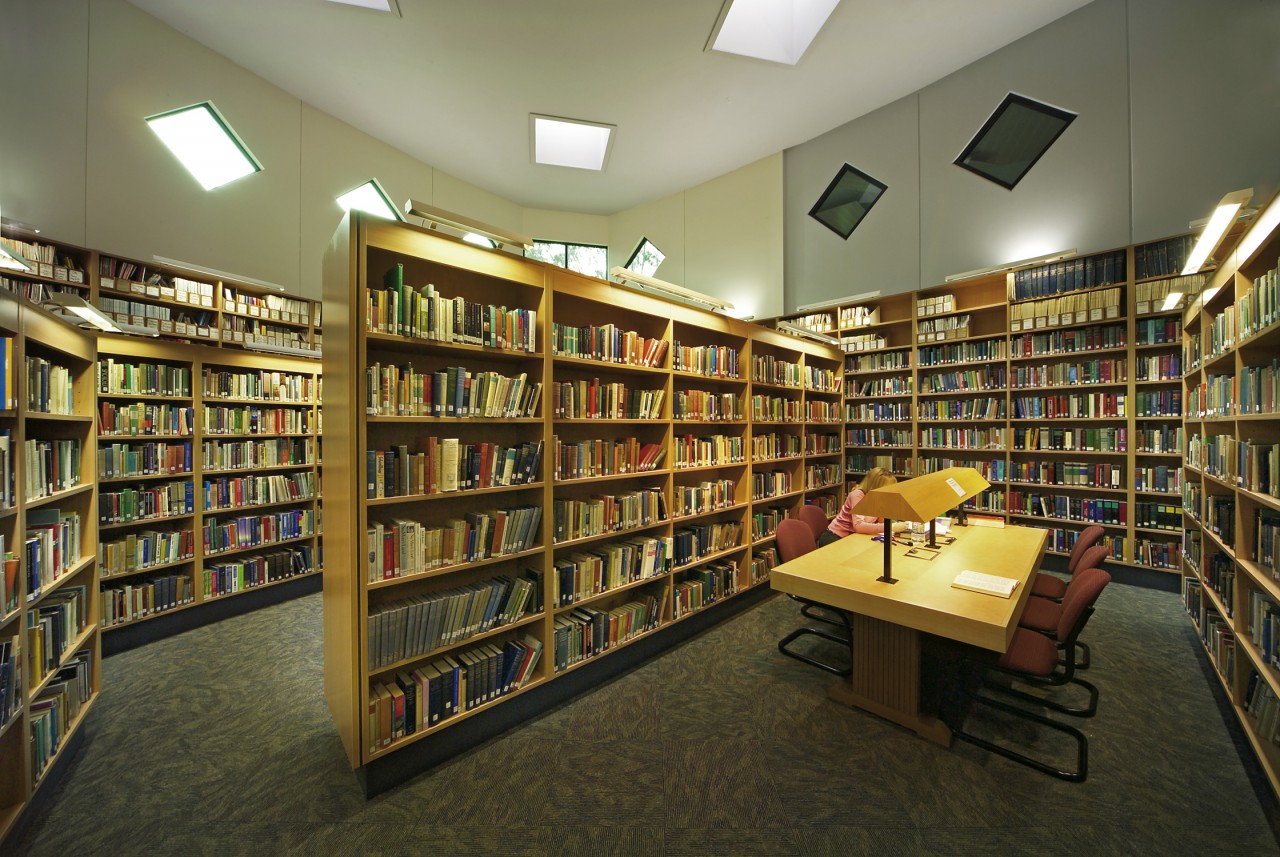
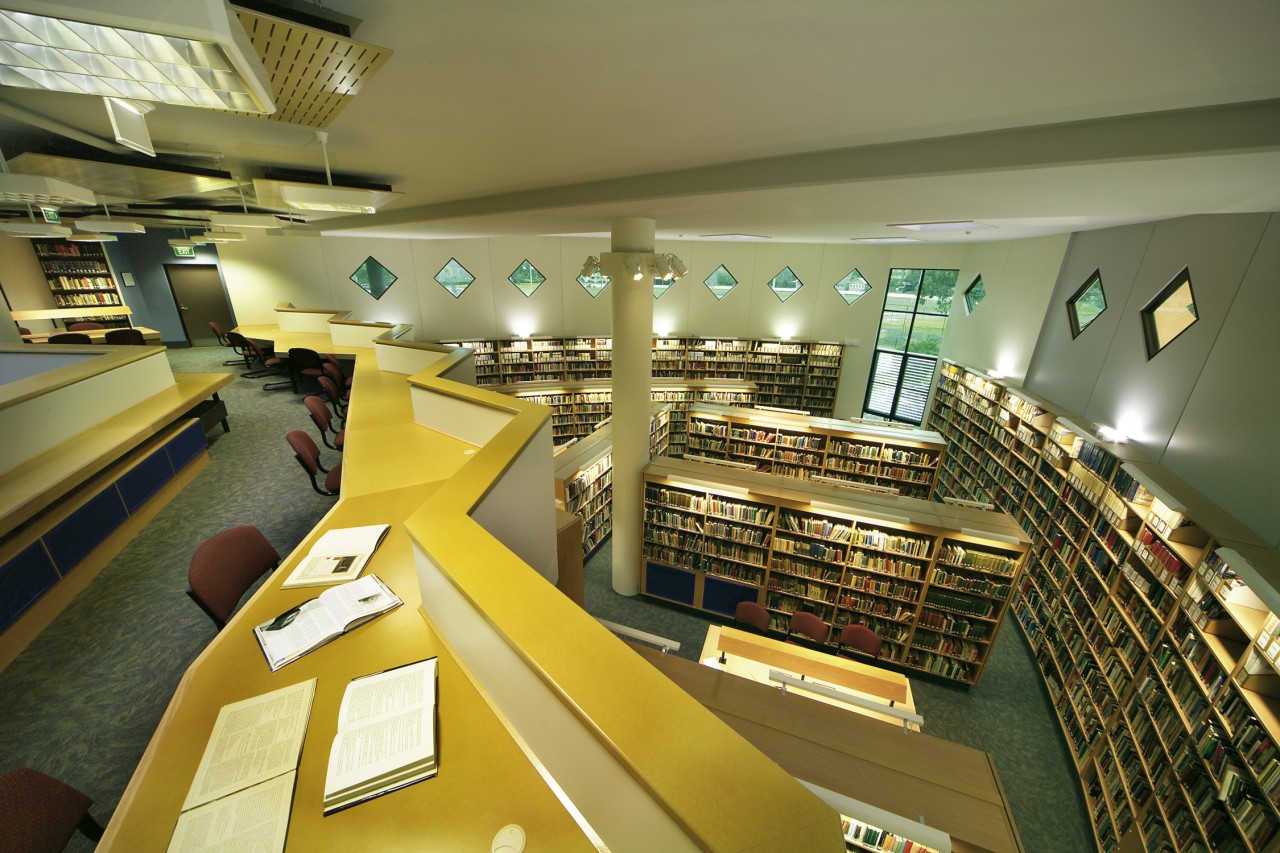
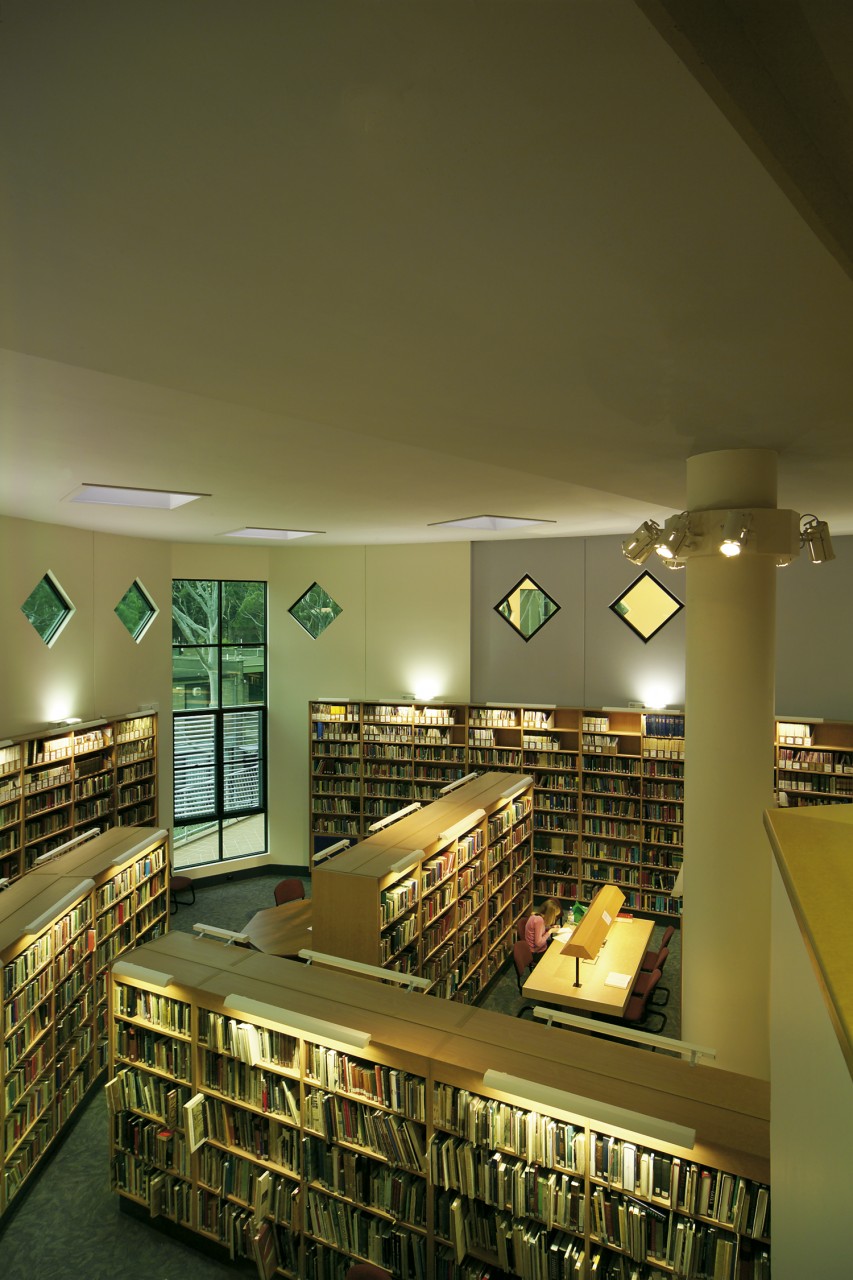
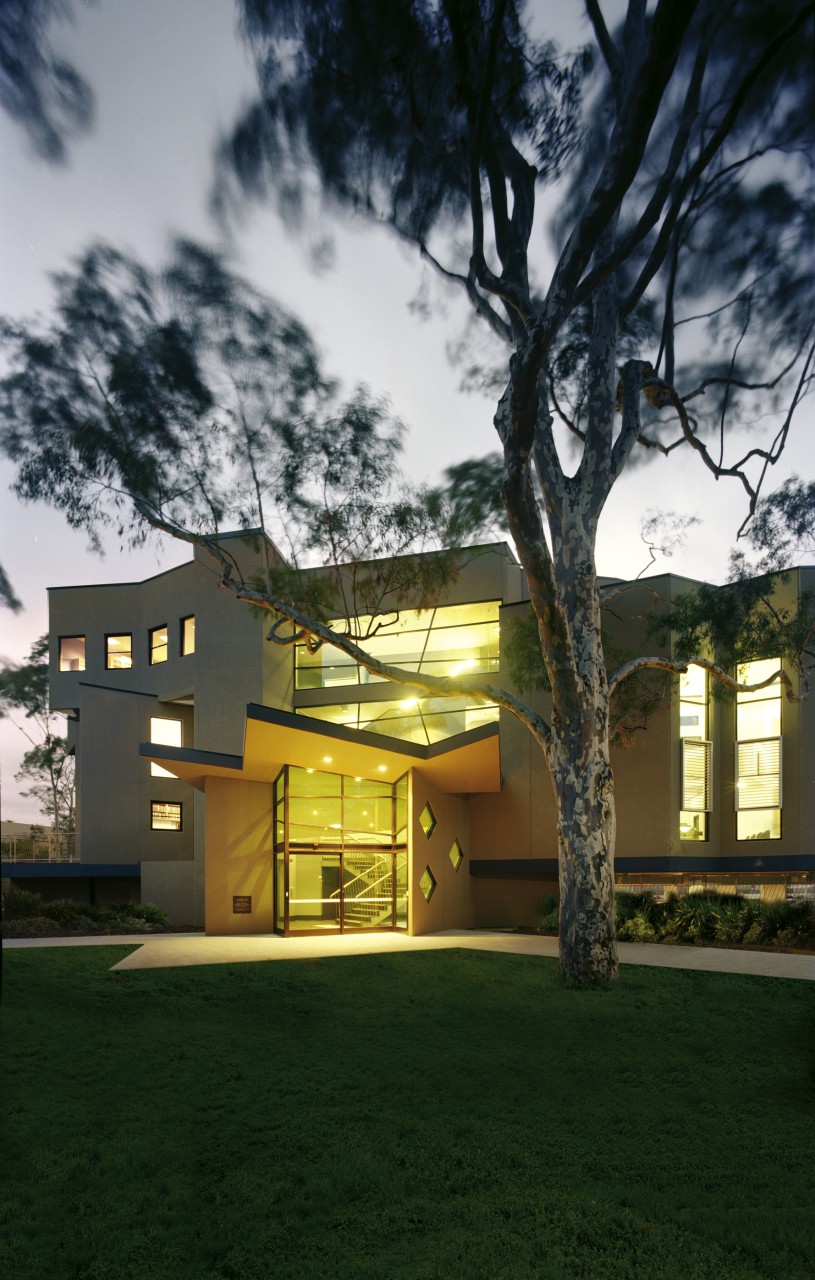
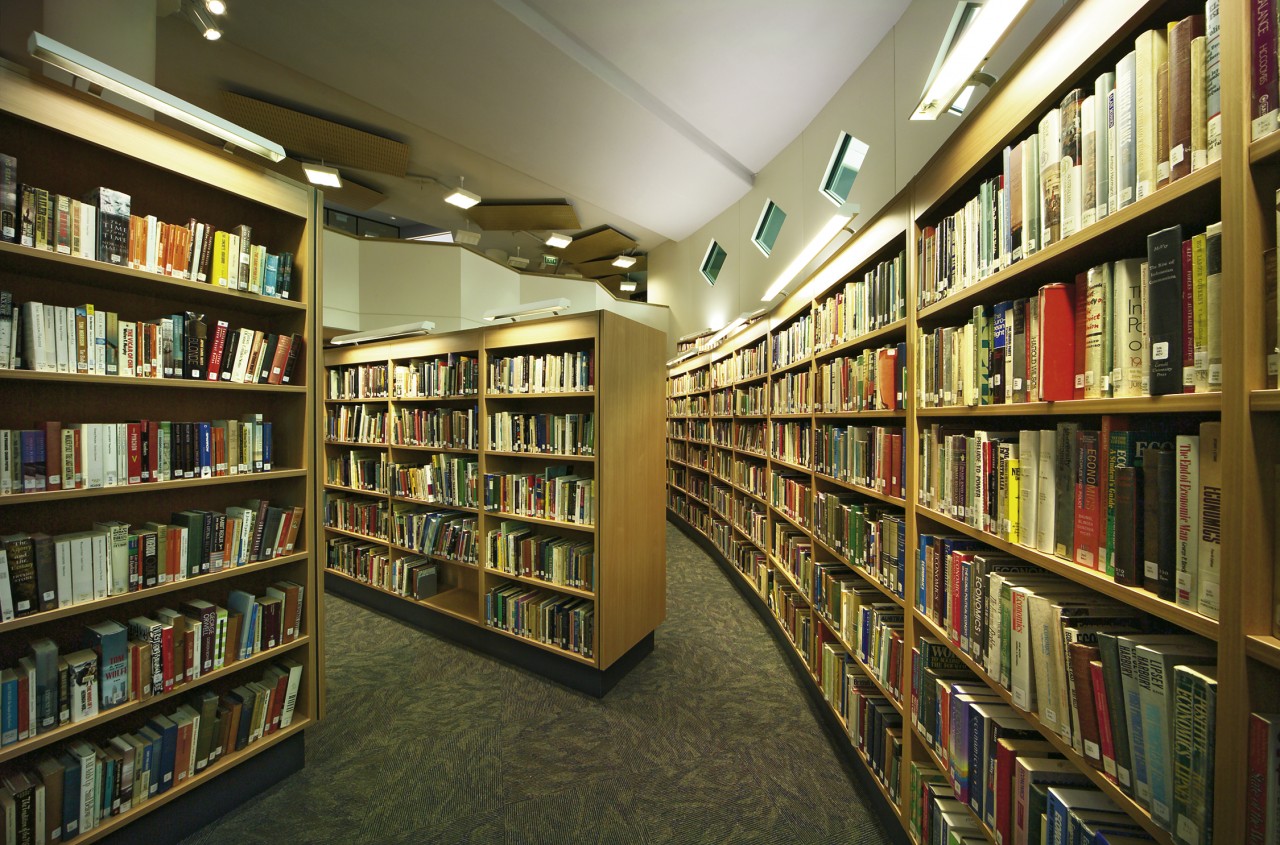
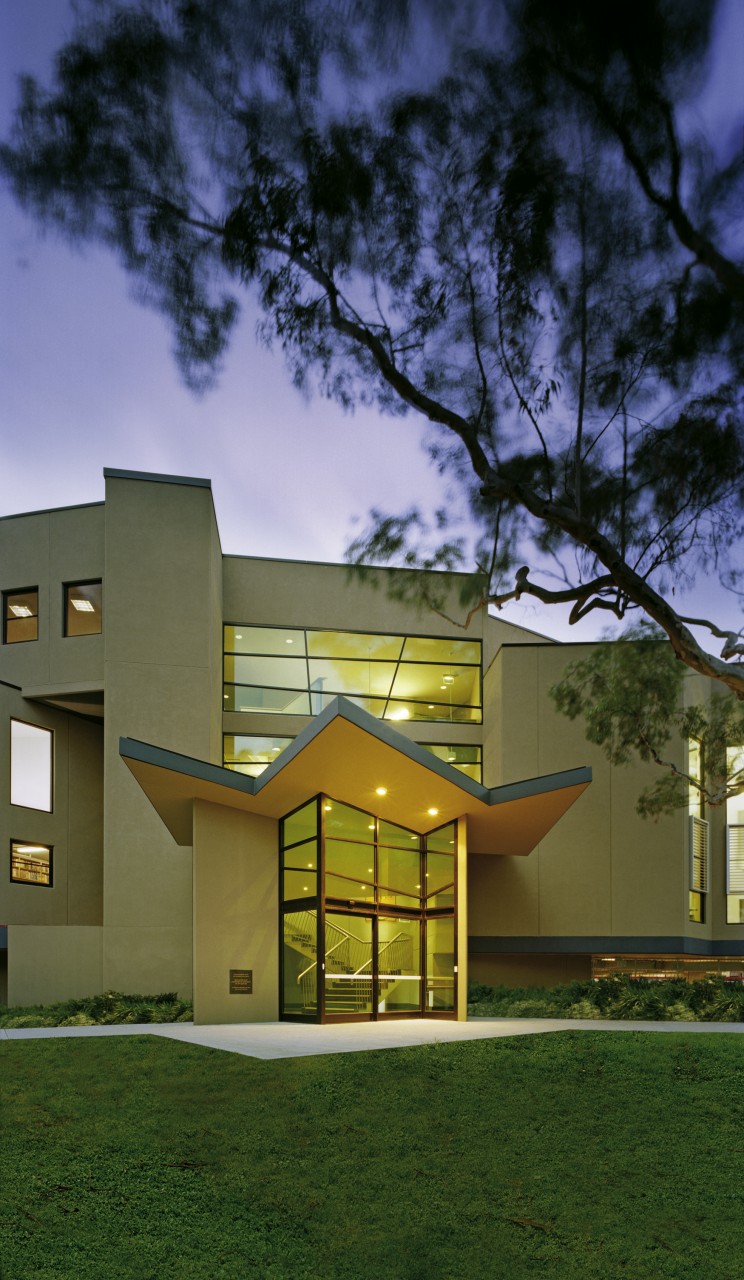
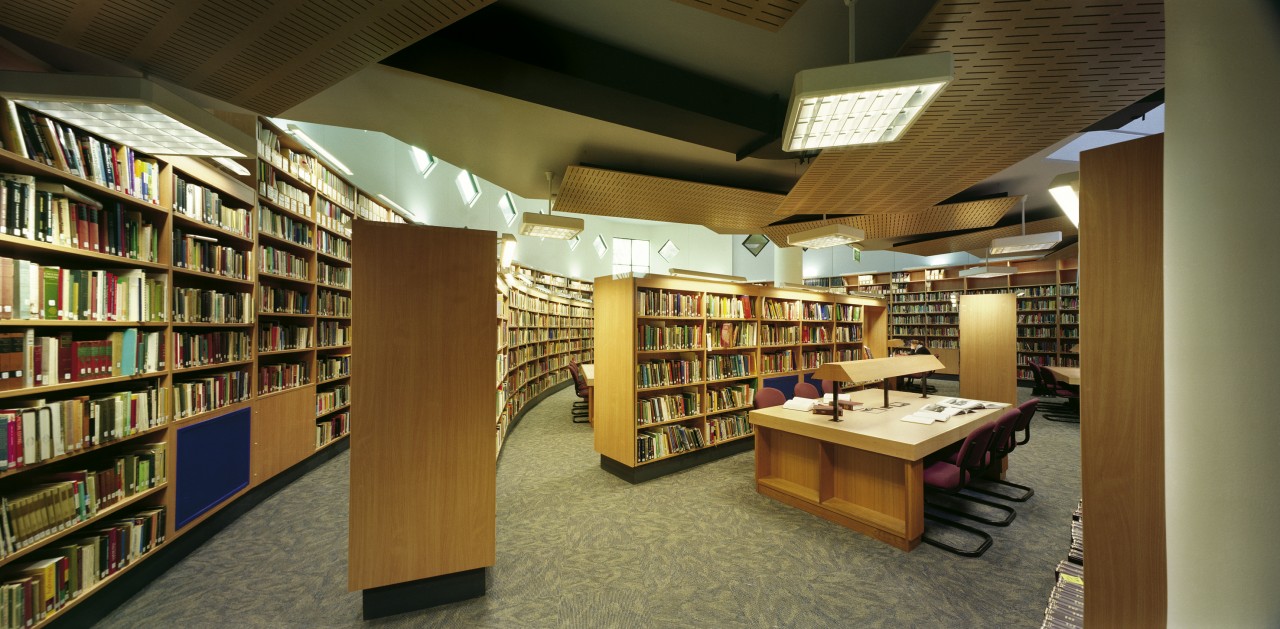
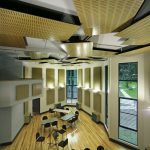
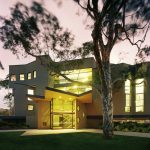
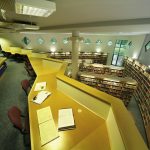
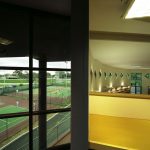
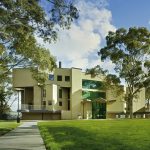
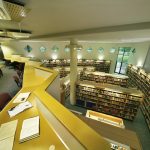
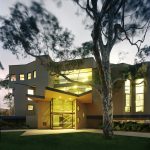
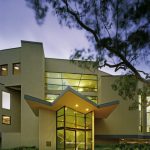
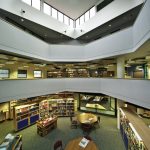
The Allan & Maria Myers Academic Centre
-
-
Photo courtesy of John Gollings. Used with permission.
-
-
Photo courtesy of John Gollings. Used with permission.
-

-
Photo courtesy of John Gollings. Used with permission.
-
-
Photo courtesy of John Gollings. Used with permission.
-
-
Photo courtesy of John Gollings. Used with permission.
-

-
Photo courtesy of John Gollings. Used with permission.
-

-
Photo courtesy of John Gollings. Used with permission.
-
-
Photo courtesy of John Gollings. Used with permission.
-

-
Photo courtesy of John Gollings. Used with permission.
-

-
Photo courtesy of John Gollings. Used with permission.
-
-
Photo courtesy of John Gollings. Used with permission.
-

-
Photo courtesy of John Gollings. Used with permission.
-
-
Photo courtesy of John Gollings. Used with permission.
-

-
Photo courtesy of John Gollings. Used with permission.
-
-
Photo courtesy of John Gollings. Used with permission.
-

-
Photo courtesy of John Gollings. Used with permission.
-
-
Photo courtesy of John Gollings. Used with permission.